Upgrading your vehicle is about more than just performance; it’s about making it uniquely yours. A fantastic way to boost style, comfort, and privacy is with a high-quality precut window tint. This DIY-friendly solution offers a professional-looking finish without the steep cost of a custom shop, giving you a sleek look that also protects you and your car’s interior from harmful UV rays.
Gone are the days of struggling with unwieldy rolls of film, trying to get the perfect cut. Precut kits are a game-changer, providing precision-cut pieces tailored specifically for your vehicle’s make and model. This guide will explore the amazing benefits, help you choose the right kit, and walk you through the installation for a flawless, bubble-free result.
Table of Contents
ToggleTop Precut Window Tint Kits: A Quick Look
Choosing the right kit can feel daunting with so many options available. This table breaks down some of the most popular and highly-rated kits to help you find the perfect match for your needs and budget.
| Product Name | Best For | Key Features | VLT Options | User Rating |
|---|---|---|---|---|
| MotoShield Pro | Premium Performance | Nano Ceramic Film, 99% UV & IR Rejection | 5% – 70% | 4.6/5 |
| Lexen | All-Around Value | 2-Ply Carbon Film, Computer Cut | 5% – 50% | 4.4/5 |
| True Line Automotive | DIY Beginners | Pre-Shrunk & Pre-Molded Options | 5% – 50% | 4.5/5 |
| Gila Heat Shield | Budget-Friendly | Deep-Dyed Film, Scratch-Resistant | 5% – 35% | 4.2/5 |
Why Choose Precut Window Tint for Your Car?
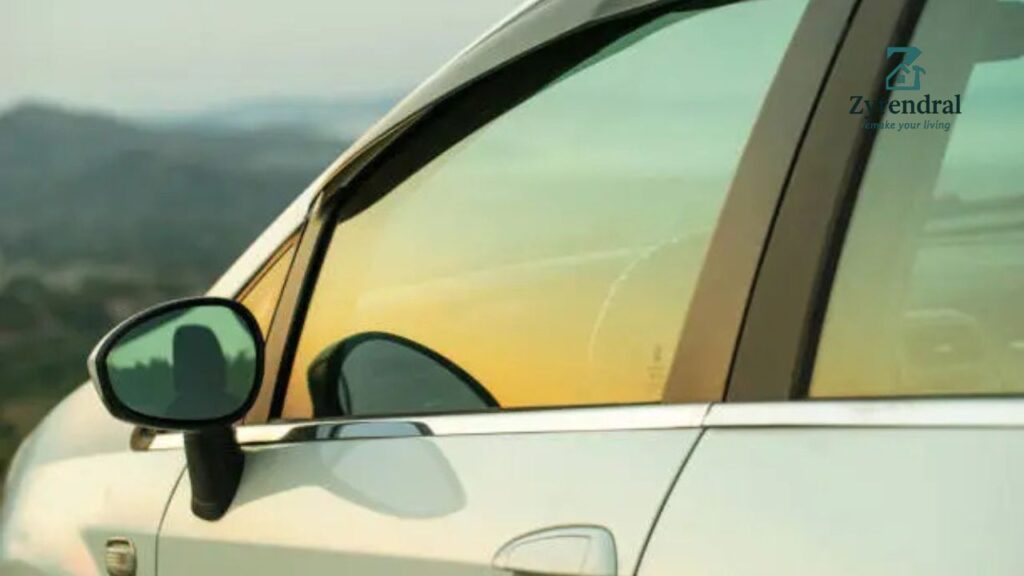
Opting for a precut window tint kit is one of the smartest upgrades a car owner can make. It’s a cost-effective solution that delivers a host of incredible benefits, moving beyond simple aesthetics to enhance your entire driving experience.
The Unbeatable Advantage of a Perfect Fit
The primary appeal of a precut window tint is the precision. These kits are computer-cut to the exact specifications of your vehicle’s windows. This eliminates the most challenging part of the tinting process: cutting the film by hand. The result is a clean, professional finish with no jagged edges or awkward gaps—a look that’s nearly impossible for an amateur to achieve with a bulk roll.
A Major Boost in Comfort and UV Protection
Window tint is about much more than just looking cool. High-quality films can block up to 99% of harmful ultraviolet (UV) rays. This is a massive benefit for your health, protecting your skin during long drives.
Furthermore, it prevents your car’s interior—the dashboard, seats, and trim—from fading, cracking, and deteriorating over time. One happy customer, Mike R., shared, “My dashboard used to get scorching hot. After installing a ceramic precut window tint, the temperature difference is night and day. It’s so much more comfortable.”
Enhanced Privacy and Security
Tinted windows offer a valuable layer of privacy, shielding you and your passengers from prying eyes. This added seclusion can make you feel more secure in your vehicle. It also helps conceal any valuables you might leave in your car, deterring potential smash-and-grab thefts. With a precut window tint, you can choose the level of darkness that gives you the perfect balance of privacy and visibility.
Selecting the Perfect Precut Window Tint Kit
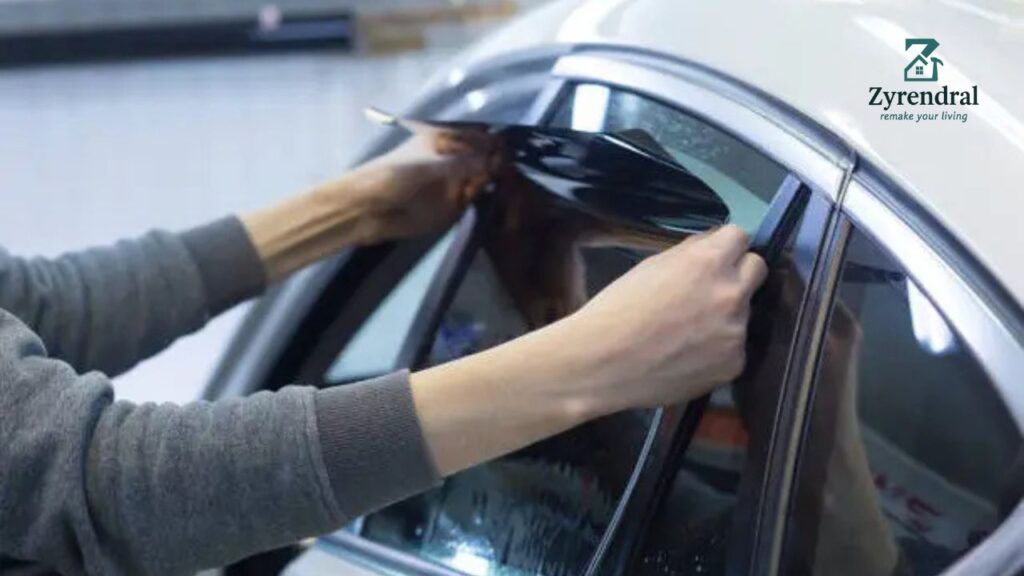
Not all window films are created equal. Understanding the different types and features will help you make an informed decision that you’ll be happy with for years to come.
Understanding Tint Materials
The material of the film determines its performance, longevity, and price. Here’s a breakdown of the most common types.
Dyed Window Tint
This is the most affordable option. A layer of dye is used to absorb solar heat. While it provides good privacy and a dark look, it’s the least durable and can fade to purple over time. It also offers minimal heat rejection.
Carbon Window Tint
A significant step up, carbon film contains carbon particles that are excellent at blocking infrared (IR) light—the primary source of heat. This type of precut window tint offers superior heat rejection, won’t fade over time, and has a sleek, matte finish.
Ceramic Window Tint
Ceramic film is the top-of-the-line choice. It uses non-conductive ceramic particles to block UV and IR rays without interfering with electronic signals like GPS, radio, or cell phones. A ceramic precut window tint provides the highest level of heat and glare reduction, exceptional clarity, and outstanding durability. It’s a premium investment for maximum comfort.
VLT: Decoding the Darkness Levels
VLT stands for Visible Light Transmission. It’s the percentage of visible light that can pass through the tinted window. A lower VLT percentage means a darker tint.
- 5% VLT: Often called “limo tint,” this is the darkest option available, offering maximum privacy.
- 20-35% VLT: A popular choice that provides a great balance of privacy, style, and good visibility.
- 50%+ VLT: A lighter tint that offers significant heat and UV rejection without dramatically altering the look of your windows.
Crucial Note: Every state has different laws regarding window tint VLT percentages. Before purchasing a precut window tint kit, you must check your local regulations to ensure you are compliant.
Your Step-by-Step Installation Guide
Installing a precut window tint kit is a manageable DIY project if you have patience and the right tools. A clean environment is essential to avoid dust and debris getting trapped under the film.
Step 1: Gather Your Tools
You’ll need more than just the tint kit. Having these items ready will make the process much smoother:
- A spray bottle with a solution of water and a few drops of baby shampoo
- A high-quality squeegee
- A microfiber cloth
- A heat gun (especially for curved windows)
- A razor blade for cleaning the glass
Step 2: Prepare the Windows Meticulously
This is the most critical step. Any speck of dust or residue left on the glass will create a bubble under the film.
- Thoroughly clean the inside of the window with your soap solution and a razor blade to scrape off any invisible grime.
- Wipe down the entire area, including the window seals and door panel, with a microfiber cloth.
- Spray the window generously with the soap solution again. A wet surface is key to being able to position the film correctly.
Step 3: Apply the Precut Window Tint
- Peel the clear protective liner from the adhesive side of the precut window tint film, spraying the adhesive side with your solution as you peel.
- Carefully place the wet, sticky side of the film onto the wet inside of the window. The water allows you to slide the film into its perfect position.
- Once aligned, use your squeegee to push the water and air bubbles out from under the film. Start from the center and work your way to the edges with firm, overlapping strokes.
Step 4: Heat and Final Touches
For curved windows, you may see “fingers” or small bubbles along the edges.
- Gently heat these areas with a heat gun from a safe distance. This will shrink the film slightly.
- Immediately press the heated area down with your squeegee until it lays flat.
- Allow the tint to cure for several days. Avoid rolling down your windows during this time to let the adhesive fully set.
Common Mistakes to Avoid
A successful DIY precut window tint installation hinges on avoiding a few common pitfalls.
- Working in a Dirty Environment: Dust is your enemy. Work indoors, in a garage if possible, to minimize airborne particles.
- Not Using Enough Solution: The window and the film must be soaking wet. This is what allows for repositioning and a bubble-free application.
- Being Impatient: Rushing the squeegee process or not allowing enough curing time can ruin an otherwise perfect job. Take your time for the best results.
Real Stories from Car Enthusiasts
The satisfaction of a successful DIY project is immense. Here’s what some users had to say about their experience with precut window tint.
Jessica, a first-time DIYer, says, “I was so intimidated at first, but the precut window tint kit was surprisingly easy to work with. The fit for my Honda Civic was perfect! It completely changed the look of my car, and I saved hundreds of dollars.” Her rating: 5/5 stars.
Tom, a seasoned car modifier, writes, “I’ve tried bulk rolls before and always struggled. The precut window tint is a revelation. I went with a ceramic kit, and the heat rejection is unbelievable. It’s a professional-grade product that anyone can install with a little patience.” His rating: 5/5 stars.
These experiences demonstrate that with the right kit and a careful approach, anyone can achieve a stunning, professional-quality tint job. It’s an empowering and rewarding upgrade for any vehicle.
Frequently Asked Questions (FAQs)
Q: Is precut window tint really easier to install than a roll?
Absolutely. The most difficult and skill-intensive part of tinting is cutting the film to fit the complex curves of car windows. A precut window tint kit eliminates this step entirely, making it far more accessible for beginners.
Q: Can I install window tint myself?
Yes, you can. With a good quality precut window tint kit, the right tools, and a clean space, it is a very achievable DIY project. Just be sure to follow the instructions carefully and watch a few tutorial videos beforehand.
Q: How long does precut window tint last?
The lifespan depends on the quality of the film. A basic dyed film might last a few years before fading. High-quality carbon and ceramic films, however, can last for 10 years or even the lifetime of the vehicle without losing their color or performance.
Q: Will the tint bubbles ever go away?
Small water bubbles after installation are normal and should evaporate as the tint cures over a few days in the sun. However, bubbles caused by trapped dirt or air from improper squeegeeing will not go away and indicate an error in the application process.
Q: Is it better to have tint professionally installed?
Professional installation guarantees a perfect result but comes at a significantly higher cost. A precut window tint kit is an excellent compromise, offering a near-professional result for a fraction of the price if you’re willing to invest the time and effort.
Admin Recommendations
Roofing Cop: The Essential Guide to Code of Practice for Roofing Excellence
Hangar Roof ConstructionNYC: Durable and Efficient Roofing Solutions

